


At this point I was ready to bring in acoustic experts, but a local team this time. A man arrived with a handgun, well a starter’s pistol to be precise and proceeded to fire shots from a couple of locations in the room, mapping the results with a microphone and software attached to his iPhone. From this he generated a seventeen-page report which recommended acoustic panels of particular sizes on each of the long walls, with the option of also applying some ceiling treatment. The ceiling is beautiful, and I was reluctant to touch it, but I was open to some acoustical paneling, especially if it looked good.

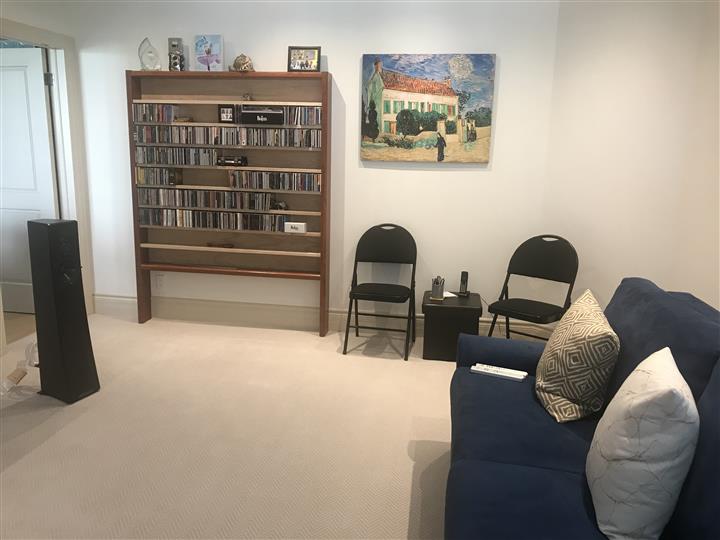
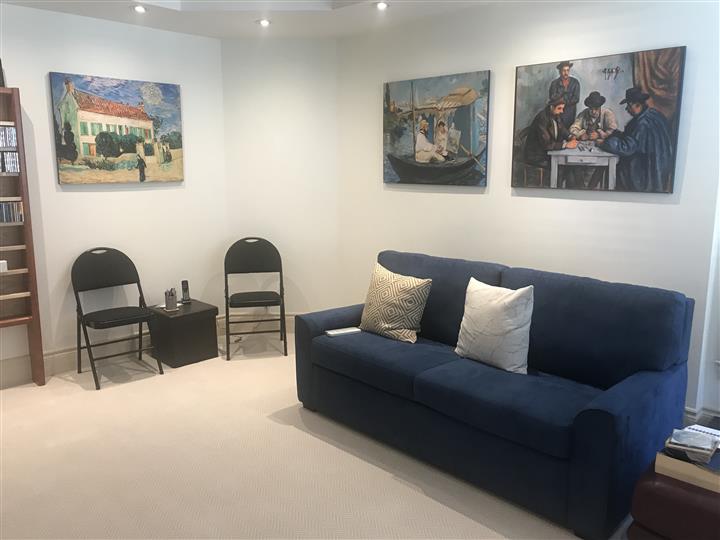
The acoustician offered a choice of 1”, 2” or 4” thick panels, and provided the measured effectiveness of each thickness, and told me I could use one panel on front and back wall or a number of smaller ones of the same area. The panels come in a wide variety of finishes and can be cut to any size. For an additional cost they could put artwork onto the panel surface instead of a cloth finish. This was music to my ears. My wife and I researched which art galleries offer royalty free hirez downloads of their art. This list included the Metropolitan Museum of Art and the Getty Museum. We searched through the catalogs and narrowed down our choices to around a dozen images. We then chose 3 landscape images for the rear wall and 3 portrait images for the front wall. We worked out how large each would be, given we wanted all those on the rear wall to have the same height so they would look good alongside each other. A similar alignment was achieved for the three on the front wall. To get the desired effectiveness, the three images on the rear wall would be 1” thick, and the other three 2” thick. We were allowed to specify any color from a paint store for the edge of the panels, and we selected a match to the sofa bed.
Things did not go entirely smoothly after that, because the company tasked with printing the selected images onto fabric got 4 images to the exact size specified but one too large and one too small. It took another two weeks for the 6 panels to be ready. Then the installers came back in with the finished panels and we tried to mount them in the room. The three on the front wall aligned perfectly, centered to the listening position and the stereo system. One panel, positioned to cover a junction box on the wall, stuck out a little. We considered moving the panel so the junction box, which protruded a half inch from the wall, would be positioned well away from the edge. But then we hit upon the idea of removing the front panel from the junction box which allowed the acoustic panel to lie flat against the wall and act as the junction box cover.
The rear pictures presented a different problem. They would all have fit nicely if we hadn’t in the meantime ordered a tall chest of drawers for the beveled corner. We realized this would obstruct the view from the doorway of the left most image, so we positioned that panel on the side wall instead and allowed greater space between the two large pictures on the rear wall.
Would it work? One day we may have the acoustician back in with his starter pistol to measure the response times to excitation by frequency. But my ears tell me they are doing a fine job. The slight echo is gone, and music sounds great. I never had a bass problem, so we probably won’t have to explore Tube Traps to tame the lowest frequencies. This is partly luck and partly judgement. The judgement comes in selecting sealed box speakers, and in positioning them along the long wall and far from the corners. The bass comes directly from the front mounted woofers without benefit of corner reinforcement or a bass port. It loads the room naturally without overwhelming it.
The biggest expense for the project was removing the stucco, moving the door and soundproofing. Next was the dedicated wiring while the sound treatment itself worked out less than £1500.
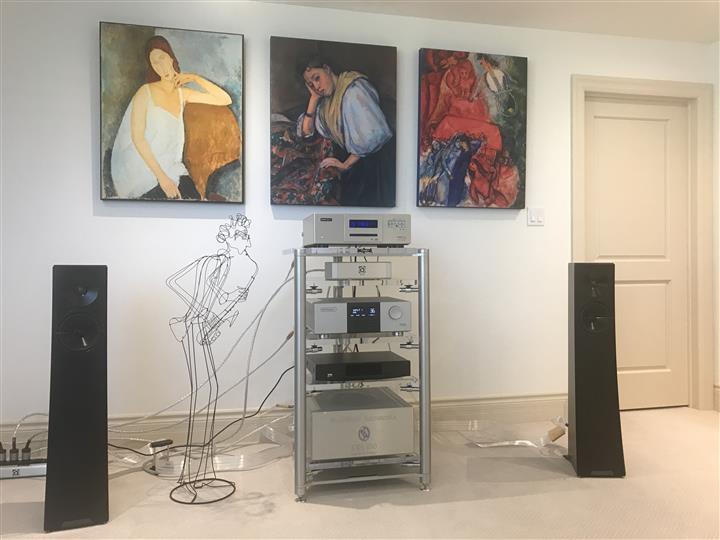
Occupying the room we have a Krolo rack, EMM Labs XDS1 V3 CD Player, EMM Labs PRE Preamplifier, ModWright KWA 150 SE Power Amp driving YG Acoustics Carmel 2 speakers, all hooked up with Nordost Valhalla 2 cabling. The rack, CD Player and Preamp are made in Canada, while the Power Amp and Cables are made in the US.
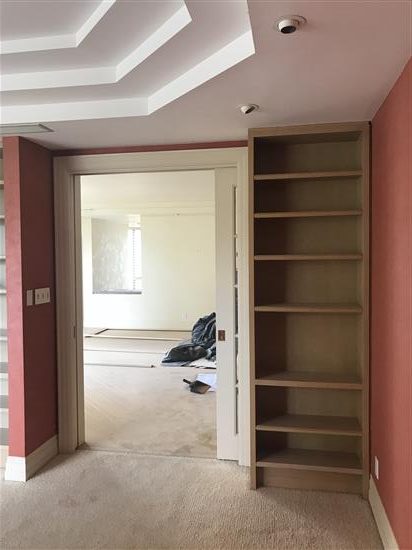
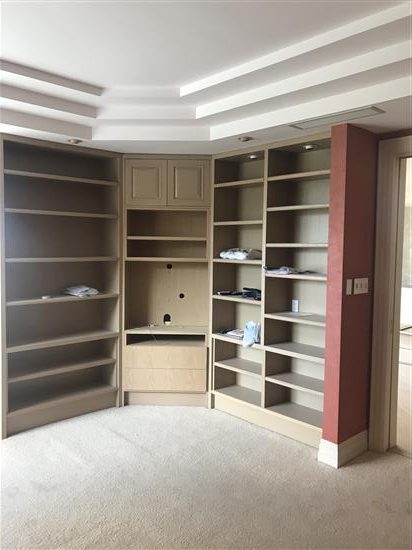
Here are the before and after photos so you can see the transformation for yourself.
Before
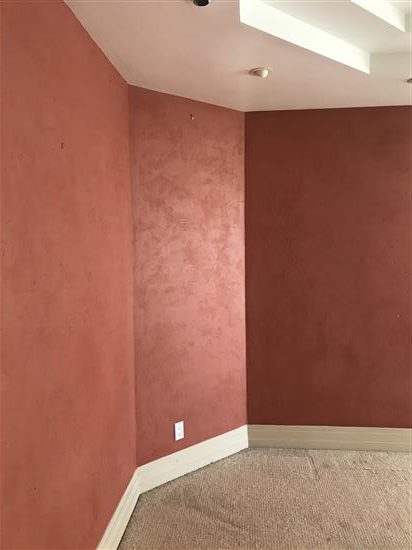
After